This is the day the LORD has made. We will rejoice and be glad in it.....PSALM 118:24
Showing posts with label Embossable Acetate. Show all posts

Tuesday, July 11, 2017

From Small Beginnings


Good morning all hope you are having a great day!!  Today I would like to share a card made using the new Swallowtail Butterflies #856 stamp set.  I just love this beautiful set.  So let's get started.


The butterfly was stamped onto embossable acetate using the misti.  Using the misti lets you re stamp the stamp without having any mistakes. Anti-static bag was used on the acetate and the image was stamped with black ink and embossed using Clear EP.
 
 
 The butterfly was then fussy cut out and colored using sharpie markers on the back side. Small pearls were added to the center.


Using the Sizzix butterfly border die the border was cut. Sparkle was added using the Nuvo Small Glue Pen and Sparkling Snow glitter.  A strip of 1/4" Tear-ific Tape was placed in the center and glittered using Hyacinth glitter.


The sentiment was stamped in black ink and embossed using Clear EP.  Small drops of Nuvo Wisteria Purple Crystal Drops.
 
Thanks so much for stopping by have a wonderful day and remember....Keep Stamping!!

Wednesday, December 9, 2015

Season Greetings


Good morning everyone, hope your day is off to a great start!!  Today I would like to share a card using embossable acetate, stamps, tissue paper and glitter.


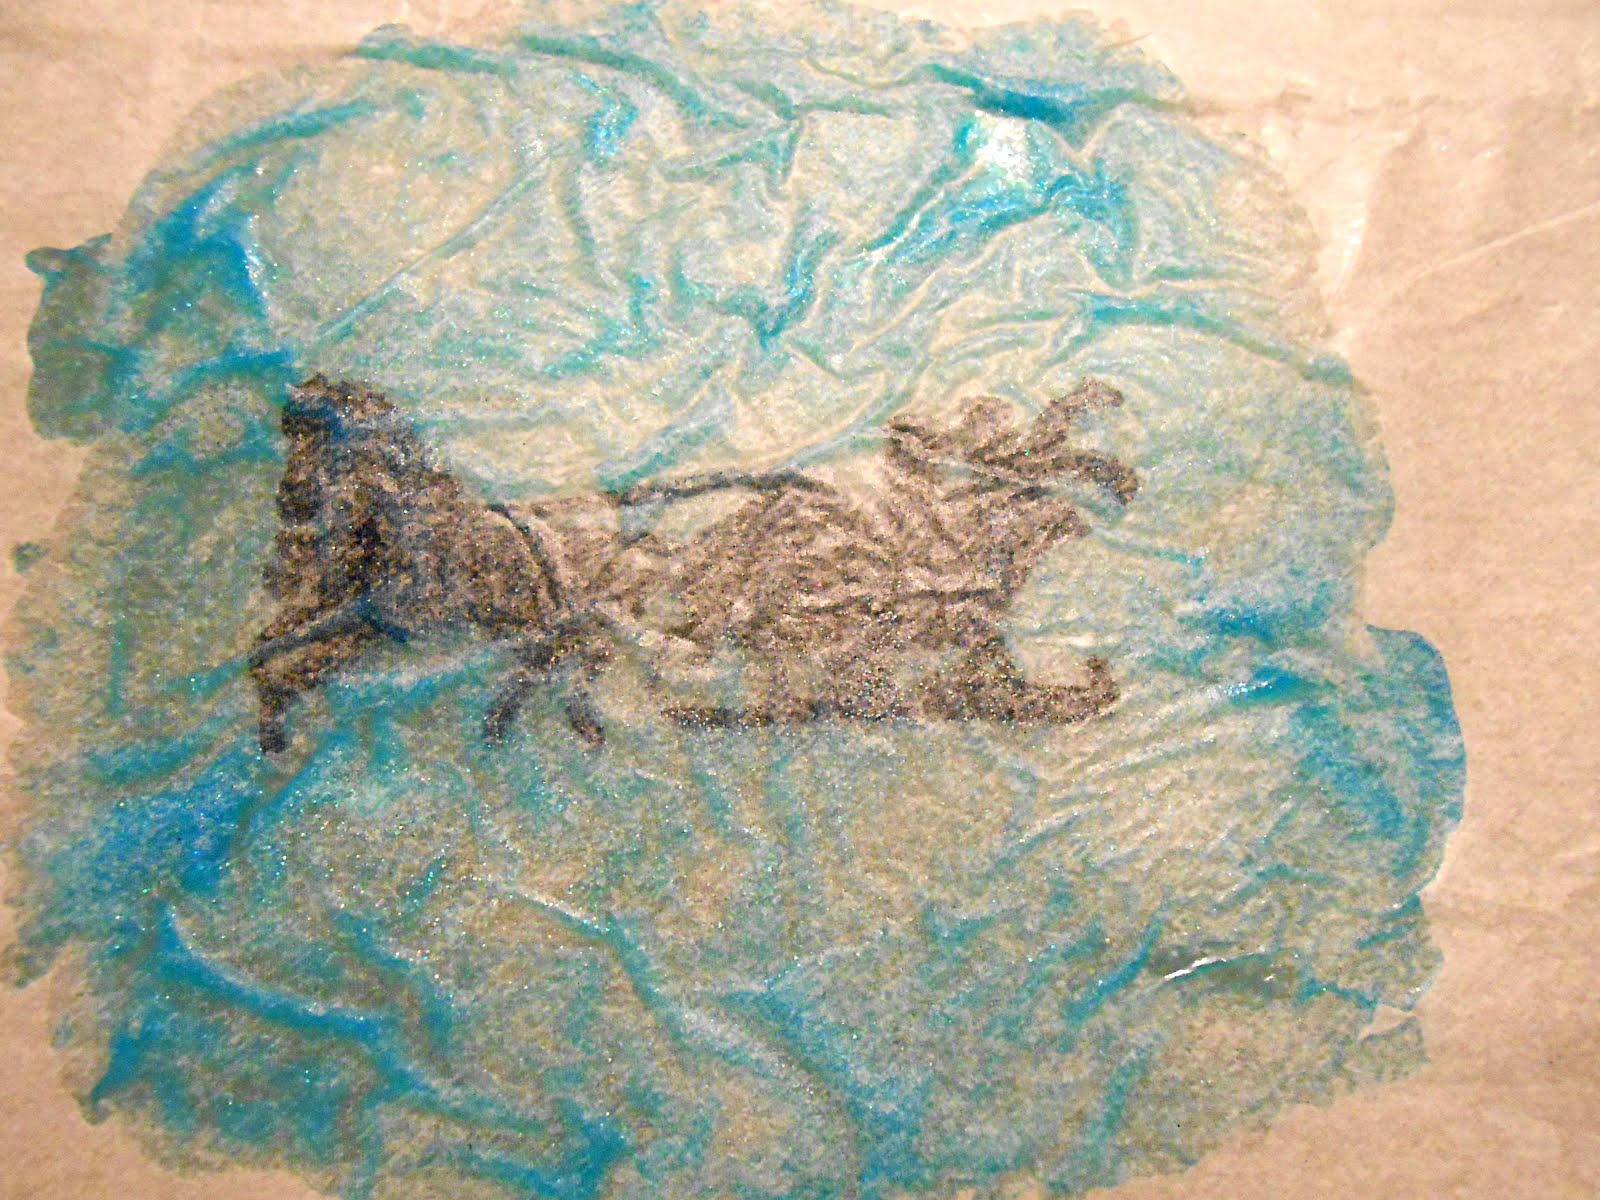
To start with I stamped the background images on a piece of cardstock.  I used the trees from SNS Winter Swirl stamp set.  Next I used the antistatic bag on my piece of acetate.  The sleigh from, SNS Sleigh Ride stamp set was stamped onto the embossable acetate using versamark and embossed using Black Detail EP. 


Flip the embossed image over and place Glossy Accents over the entire image.  I used a small piece of blue gelato and mixed it with the Glossy Accents to create this pretty blue color.  A light dusting of Sparkling Snow glitter was added to the Glossy Accents.  


I then placed a piece of white tissue on top of the wet Glossy Accents smoothed out the wrinkles and flipped over.  This was then placed on top of the Winter Tree stamped image .  Let dry completely about an hour.  I then die cut the entire piece using Sizzix Funky Label dies.


Using a piece of glitter paper, I created a frame using the Funky Labels.  The background paper was embossed with Anna Griffin's Snowflake Embossing Folder.
The background paper was then layered onto a 5.25 x 5.25 card.  A small line of glitter was added to the edges using a glue pen and Sassy Silver glitter.


I placed a piece of 2 1/2" Tear-ific Tape on top of white cardstock.  Removed the backing and cover with Cloud Nine Glitter. I stamped the sentiment from the Sleigh Ride stamp set with black ink on top of the glitter.  Fussy cut around the wording.  


The snowflake was die cut using Anna Griffin's die and sticker paper.  The snowflake was glittered using Sparkling Snow glitter.  

Thanks so much for stopping by have a wonderful day and remember....Keep Stamping!!

Thursday, April 3, 2014

Diamond Medallion

Good morning all, hope you all enjoyed the April Release of Sparkle N Sprinkle's 5 new stamp sets!!  Here is a look at all 5 of them!  They are all wonderful stamps and you will want to pick up some of them for your projects!!


I shared a sneak peek of a layout using the new Diamond Medallion set.  It is a really pretty stamp and could be used in so many ways.


I stamped the diamond images onto the page with green ink and then stamped the image 2 more times onto white CS with versamark, punched the centers out with a circle punch.  Using pastels chalks to color the image inside the circle.  


These really made a pretty embellshiment for my layout!

There are a lot of stenciling on this page using inks and embossing paste.


The butterfly is from the Brocade Background stamp set.  I stamped it onto embossable acetate with versamark and embossed with Black Detail EP.  Place a piece of 2 1/2" Tear-ific Tape on the back of the butterfly, fussy cut out.  Remove the backing and glitter.


If you would like more details on how to make this layout, please visit my Sparkle N Sprinkle Gallery!

Thanks so much for stopping by, I hope you all are able to pickups some of these beautiful stamps!!

Enjoy your day and remember.....Keep Stamping!!

Belinda

Friday, February 28, 2014

Sparkle N Sprinkle's March 1 Reveal


Welcome to Sparkle N Sprinkle's March 1 Reveal.

Hope you all have been able to stay warm this month!!!  This has really been a cold winter, but it has given time for indoor paper crafting.  I would like to say hello to my newest follower Mary H, thanks so much for stopping by.  I hope you all are ready for some fun, it is time to reveal Sparkle and Sprinkle's newest stamp sets with lots of chances to win great prizes.


This month we are featuring five versatile stamp sets.
Two of the sets are perfect for Christmas.
Many of our customers said they promise themselves to make Christmas cards a little bit each month, all year long, but they fail to find the time. So this month's technique kit uses the pretty Red Cardinal drawn by Rosiland Solomon.


The Winter Cardinal stamp set is available by itself on line.
It is also included in Jazzy Jill's Technique Video for the month.

The FIRST also means a new challenge at SNS Creative Challenges where the monthly theme is always 
"Anything Goes with Loose Glitter, Embossing Powder and/or Flocking."

Born to Shop #554

Winter Cardinal #518
Crystal Medallion #531

Iris Frame #532

Springtime Spunky #537
The Winter Cardinal and Crystal Medallion will also be available as digital images, you can find them Here.

Five Winners (one for each new stamp set) will be selected by Random.org during the Designers Mystery Party. Winners will also get to choose one Glitter and one Embossing Powder to go with their new stamp set.

How the Mystery Party works:

On Five of the participating blogs below, a Commenter will be selected to receive the prize
No one knows who the five Mystery Designers are, so you may wish to visit each blog to leave a comment.

The winners will be announced on March 3 on Facebook, the SNS blog, and on our blogs:

April Williams
Anne Temple
Anita Scroggins
Donna Ellis

Each of the five stamp sets are available at 20% off.
Promotion valid through March 3. 
You may also phone the SNS Shoppe to place your orders.

Don't you just love all the new stamps!!  I really loved the Frame Iris and thought how pretty it would look using the SNS Tutorial for stained glass. 

 This really turned out so pretty, I hope you can see all the beautiful "SPARKLE" on this card!!
I used Tim Holtz's Tattered Flower dies for the flowers and Sizzix Flourish Die.  The flowers were glittered using Pixie Violet (this is the most beautiful color), Green Iris and Daisy glitter.  Once the glue had dry on the acetate, I then covered the entire image with 2 1/2 Tear-ific Tape.  Remove the backing and cover with Cloud Nine glitter.  Use copic markers to highlight the areas around the flowers. See SNS Tutorial for coloring on glitter.


Here is a look at my 2nd card using this same stamp.


This card was made using SNS Coloring on Glitter tutorial. You will need copic markers, 2 1/2 Tear-ific Tape and Cloud Nine for this technique.  I placed 1/4" Tear-ific Tape on the edge of the yellow cardstock and glittered using Daisy glitter.  
If you would like more details on using copic markers on glitter you can find it HERE!

These are 2 different techniques with such different looks!

I am going to give you a sneak peek of projects to come using all of the new stamp sets.  Be sure to check back to see the reveal.


If you would like more details on how to make these cards please visit my Sparkle N Sprinkle Gallery.

Good Luck to you all, be sure to visit all of the talented designer's blogs for a chance to winner so wonderful products!!!

Belinda