May 1 New Reveal Blog Hop!
This month we are doing something a little different. Instead of releasing new stamp sets, all the Designers have been creating projects with Dreamweaver stencils, using various techniques and products.
Be sure to visit the SNS Blog all month long, as well as the Designers' blogs (you can click on the Designers' names to go directly to their blogs) to see different techniques used with the stencils. Each Designer always posts 2 different projects to the SNS Blog and 4 different projects to their personal blogs each month.
Some of the techniques you see throughout the month is dry embossing with your stencil; double glitter technique; combining embossing pastes with glitter, embossing powders, flock, and/or guilded flakes; using the embossing paste as a resist; double embossing paste technique and lots of other fun ideas.
All Dreamweaver stencils, soap, and embossing pastes are 20% off until May 3. So once you finish the blog hop, head on over to the store and start shopping.
Large Feather is the stencil featured with this month's Technique Video Kit.
On May 3, one GRAND PRIZE WINNER will be selected from the comments left on the Designers' blogs. Please leave a comment with each Designer in order to be eligible for the Grand Prize. You never know who the Mystery Designer will be that has the winning comment.
The winner will be able to choose $55 worth of any products listed under the Stencils and Templates category, plus mica powders (Pearl Ex) and of course, glitters, embossing powders, flock, and sticker paper or adhesive sheets.
The Grand Prize Winner will be announced on June 3 on the SNS Facebook page, the Designer's blogs, and here on the SNS Blog.
We are pleased to have Diane and Ashley, two of our 2015 Guest Designers, joining us again this month. They will be our Guest Designers for the months of April, May, and June.
The Blog Hop order this month is:
(*Tip: if you have difficulty with a particular link, try clicking on the Designer's blog title to send you to their Home page.)
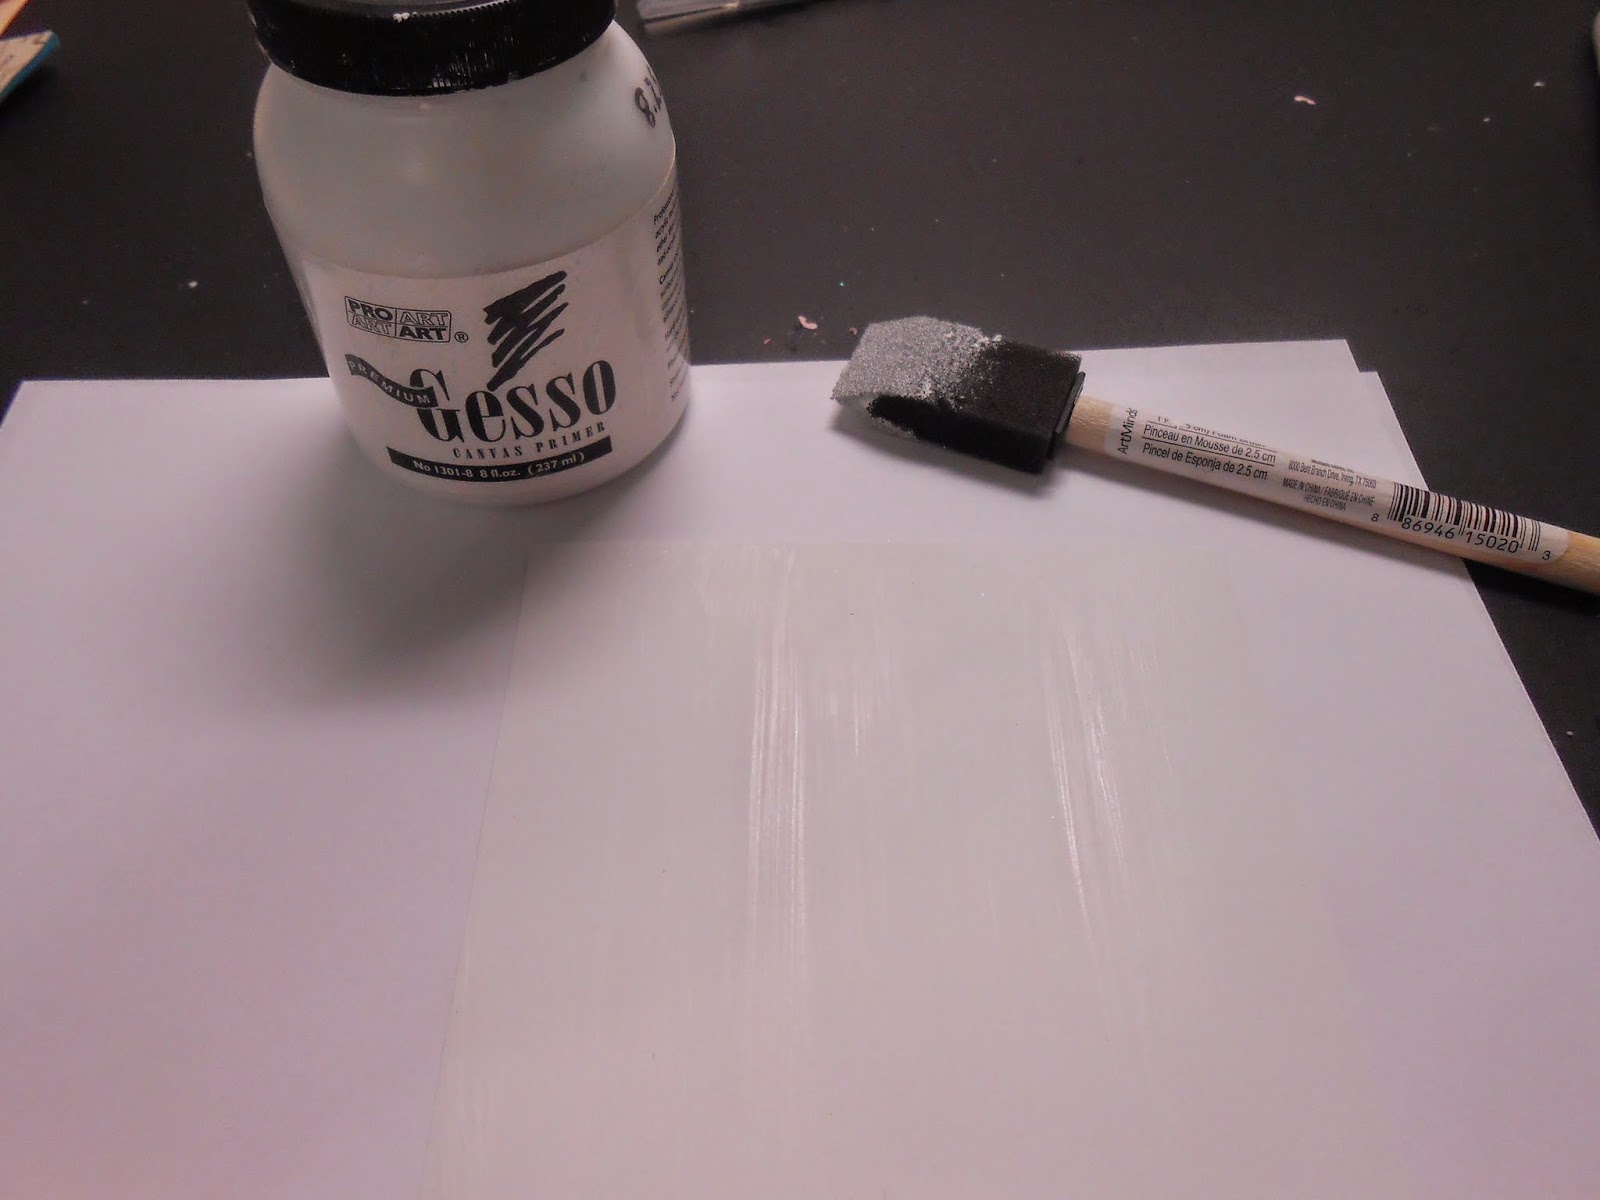
I just loved this month's reveal!!! Stenciling, embossing paste, gesso and glitter are my favorite things to use!! To start my card I covered a piece of cardstock with gesso and let dry this will be used to create the background paper. For my card I chose the Twisted Easel Card, you will need to cut your cardstock to 5 1/2" x 11". Score the front of the card in half to create a triangle, then decorate as you wish. You can find a tutorial on how to make a Twisted Easel Card
here.
Once the gesso was dry I randomly covered it with gelatos. The piece was lightly sprayed with water and blended together to create the background for my card. I laid the Three Hibiscus Stencil on top of the background paper and started wiping different areas of the stencil to remove the color. (Sorry I forgot to take a picture of this)
Here you can see how the baby wipe removes the color and creates a beautiful look!
Next I placed a piece of
2 1/2" Tear-fic Tape on top of white cardstock, removed the protective backing. You will need to rub
Coconut Soap on the back of your stencil so that it will come off easily. The stencil used to create this beautiful butterfly is
Dreamweaver Heliconia Butterfly. Place the stencil on top of the tape and I glittered and flocked using
Autumn Sparkle SS,
Periwinkle,
Night Sky SS, you will need to work slowly and try not to mix the glitters. I removed the stencil and covered the entire piece with
Lavender Iris. Next you will need to fussy cut the butterfly out.
The same procedure was used for the 2nd butterfly with different glitter. The glitter used on the 2nd butterfly are
Rapture Blue,
Spirited Green,
Golden Rod and
Princess Anna Fuchia.
To create the center panel, I placed a piece of Fabric Adhesive Sheet on top of a piece of white cardstock, removed the backing from the top of the sheet. Using the same Three Hibiscus stencil and rubbing the back with the Coconut Soap lay the stencil on top of the adhesive sheet. Using Princess Anna Fichia,
Green Nugget and Golden Rod glitter, I covered the stencil slowly and very careful.
Here is a tutorial on how to apply glitter to a stencil. Once the stencil area was covered I removed the stencil and covered the entire piece with Sparkling Snow.
Oh how pretty and sparkly it was!!!!
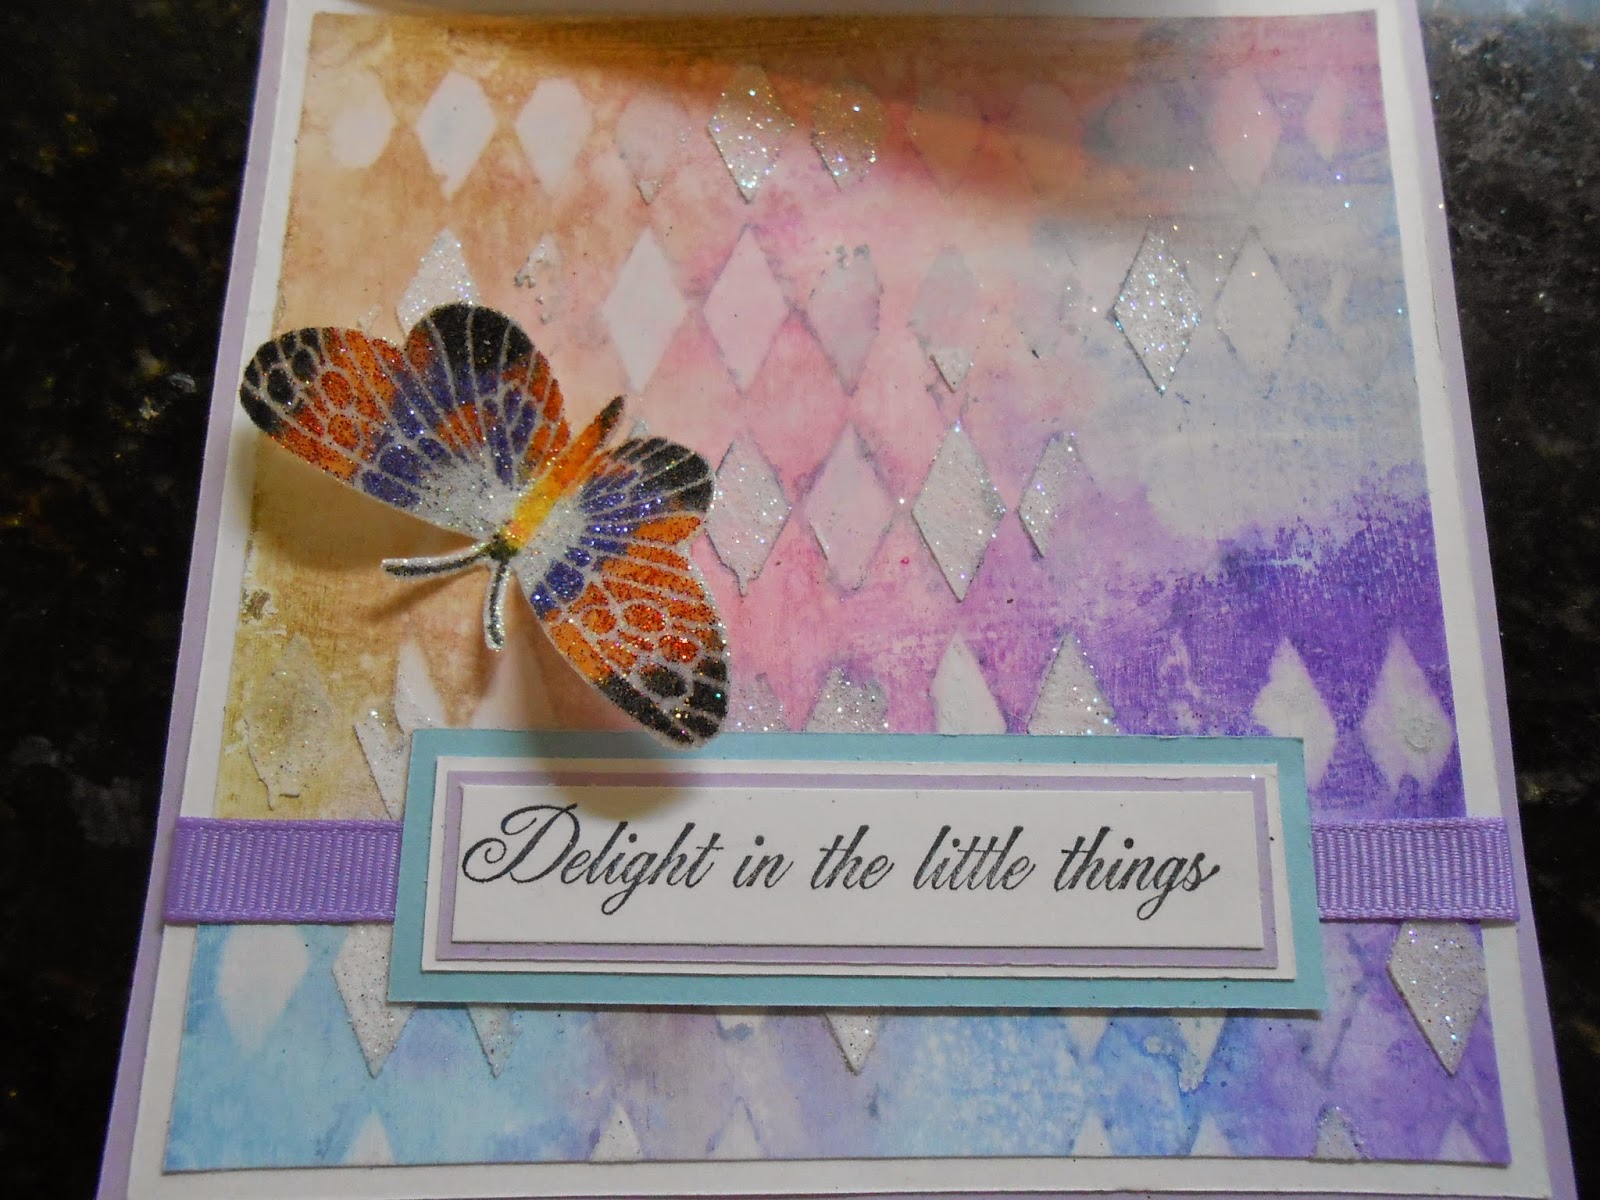
To create my bottom panel I used the same technique and covered the piece with gelatos misted with water and blended them together. Once dry I laid the
Mini Quatrefoil Stencil on top and used a baby wipe to wipe away the color. The stencil was then laid back on top and randomly covered with embossing paste. While the paste was still wet I lightly dusted with Sparkling Snow glitter.
This card turned out so beautiful, I was so happy with the end results!!!
Side view of my card the sentiment was stamped with black ink and layered. A small strip of ribbon was placed on the bottom and the sentiment placed on top.
Here is a sneak peek of projects to come using Dreamweaver stencils, hope you will stop back by to see the reveal and all the details!!
We love reading your comments and hope that we have inspired you as well. If you can not leave a comment for some reason, please email icinganne@yahoo.com with your comment and the name of the blog or the Designer you are commenting about.
The Sparkle N Sprinkle Creative Challenge also begins today. There are lots of prizes and recognition badges. Come check out how you can become a SNS Featured Artist as well. The theme is always Anything Goes using Loose Glitter, Embossing Powder, and/or Flock.We hope you enjoy the New Reveal Blog Hop as much as we do. Thanks for joining us and remember to comment on each of the Designers' blogs to be eligible for the Grand Prize.
Last month Diane was the Mystery Designer with the winning comment. Wonder who it will be this month????
Next stop on your blog hop is Diane, good luck to all!!
Thanks so much for stopping by have fun, see you soon!!