This is the day the LORD has made. We will rejoice and be glad in it.....PSALM 118:24
Showing posts with label SNS Winter Wonderland. Show all posts

Tuesday, August 19, 2014

Winter Wonderland

Good afternoon everyone!!  Hope you all are having a great day!  Just wanted to share a layout that I made sometime ago and just finished putting the pictures on it!!  I used the Winter Wonderland stamp set from Sparkle N Sprinkle.


Using the exploding box template I created a way to add more photos!


Front of the opening, was embossed with Cuttlebug's Snowflake Embossing Folder.  The snowflake was die cut and glittered using Sparkling Snow and Reflections glitter.

  Photos were added down the middle.  Each side was embellished with snowflakes.


  With the left side panel closed.


                                With the bottom panel closed.


  The left and right side panels.  Embellished with snowflakes and glitter.


The images were stamped twice across white cardstock.  They were colored with copic markers.  The trees were stamped a second time with versamark and embossed using Pine Star EP and glittered using a glue pen and Twinkling Cloud.  They were fussy cut out and placed on top of first image with pop dots.  A strip of 1/2" Tear-ific Tape was added to the top and bottom, remove the backing and place a of 1/8 Tear-ific Tape  in the middle of the 1/2 tape.  Glitter 1/2" tape with Reflections glitter. Remove the backing from the 1/8" tape and glitter using Jasper Blue glitter.


Twinkling Clouds was used on the trees to create the look of soft snow!  On the snow banks Sparkling Snow glitter was used.


A tag was cut for those important journal memories!!

I hope you have enjoyed my layout, I'm looking forward to the upcoming holiday season!!

Thanks for stopping by and remember.....Keep Stamping!!

Wednesday, November 20, 2013

A Wintery Christmas Card

Hi there, it's Belinda here!!  Hope you all are having a wonderful day!  I have been busy working on this year's Christmas Cards and just love the Winter Wonderland set.  I thought how pretty it would be in a window card, so I went to work!


I first cut my window froma window die, and stamped and colored my image with copic markers.  You will need to cut the image to fit inside the window die.  I used Twinkling Clouds and Sparkling Snow on the window scene.


Next die cut the window box and attached it to the window.  I thought I need something to embellish the box and it came to me, the poinsettia from the Snow One Like You stamp set.  Just stamp the image 3 times and cut out.  Color with copic markers and glittered the center with Golden Silver


You will only need the poinsettia portion of the stamp!


You will adhere the window to the card front.  I used a pine branch punch for the pine.  Arrange it on the top and on each side of the window box.  Using brushable glue add Green Iris on the tips of the pine branch.


I hope you have enjoyed this card, I really love this set!!  You can find complete instructions on how to make this card HERE!
Thanks for stopping by!!  I hope your day is as "special" as you are,  see you again soon!!
Belinda


:


Wednesday, November 6, 2013

It's A Winter Wonderland!

Good morning everyone, Belinda here with a new layout!!  This layout was created using Sparkle N Sprinkle's A Winter Wonderland Stamp Set and Flourishes Two Stamp Set both are new this month!!


As you can see this is a lot of elements on this page!! You can find all the detailed instructions on how to create this page HERE!!


This pretty background was made using versamark, Flourishes 2 and the Snowflakes from Snow One Like Me.  Stamp the flourishes first with versamark and embossed with Tinsel EP and Holiday Blue EP.  Next stamp the snowflakes with versamark and emboss using Tinsel.  


The center panel was embossed using Cuttlebug's snowflake embossing folder and stamped with the small stamp from Flourishes 2 stamp set.  This makes for a perfect place for journaling, or you could also place another picture. 


 I also added a tag that I cut using Basic George Cricut Cartridge and embellished the top with a snowflake that I cover with Brushable Glue  Jasper Blue Glitter. Perfect place to add
more journaling!


For this beautiful winter wonderland, I stamped the image across the page 3 times.  The images was colored with copic markers. To create all that beautiful "Sparkle" I used Sparkling Snow and Twinkling Clouds.  


Just another look at my wintry layout!  I hope you have enjoyed it as much as I did creating it!!!  You can find all the details on how to make this layout HERE.

I will see you again soon!

Belinda


Thursday, October 31, 2013

Sparkle N Sprinkle Winter Wonderland - November 1st Release


Welcome to Sparkle N Sprinkle's November 1 Release.

Hi everyone, hope you all are enjoying fall.  The autumn colors are just beautiful!! I am so glad you have stopped by and would like to thank all my newest followers.  It is time to reveal 2 new stamp sets from SNS!!!   It is that time of the year when are fingers are covered in ink as we start our holiday cards!!  You are going to love these stamps,  they are perfect for all your winter cards and pages!

This month we are bringing you two marvelous new stamp sets by artist Rosiland Solomon with FIVE chances to win

the first two chances are with our "Winter Wonderland" Release Contest and there are three more chances with the SNS monthly challenge where the monthly theme is always "Anything Goes with Glitter, Embossing Powder and/or Flocking."


The Winter Wonderland stamp set and the Flourishes Two stamp set are both available on line.


The Winter Wonderland stamp set, one glitter and one EP will be awarded to one commenter.
The Flourishes Two stamp set, one glitter and one EP will be awarded to another commenter.
To win, just come to our Mystery Designer Party!


How the Mystery Party works:

On two of the participating blogs below, a Commenter will be selected to receive the prize
No one knows who the Mystery Designers are, so you may wish to visit each blog to leave a comment.

The winners will be announced on November 3 on Facebook, the SNS blog, and on our blogs:


Both sets are available available at 20% off
as part of our Wintry specials.
Just use the code WINTRY20 in the COMMENTS SECTION
when checking out in the SNS on-line store
to receive these brand new sets at 20% off.
Promotion valid through November 3.(sorry, credit card customers only. Total will be manually adjusted. Or phone the SNS shoppe on Wednesday and ask them to manually adjust the charge on the phone for you).
I was just in love with this stamp set!!!  It just makes for pretty winter pages and some many ways to used glitter and embossing powder!


You can find all the instructions about my page 

HERE


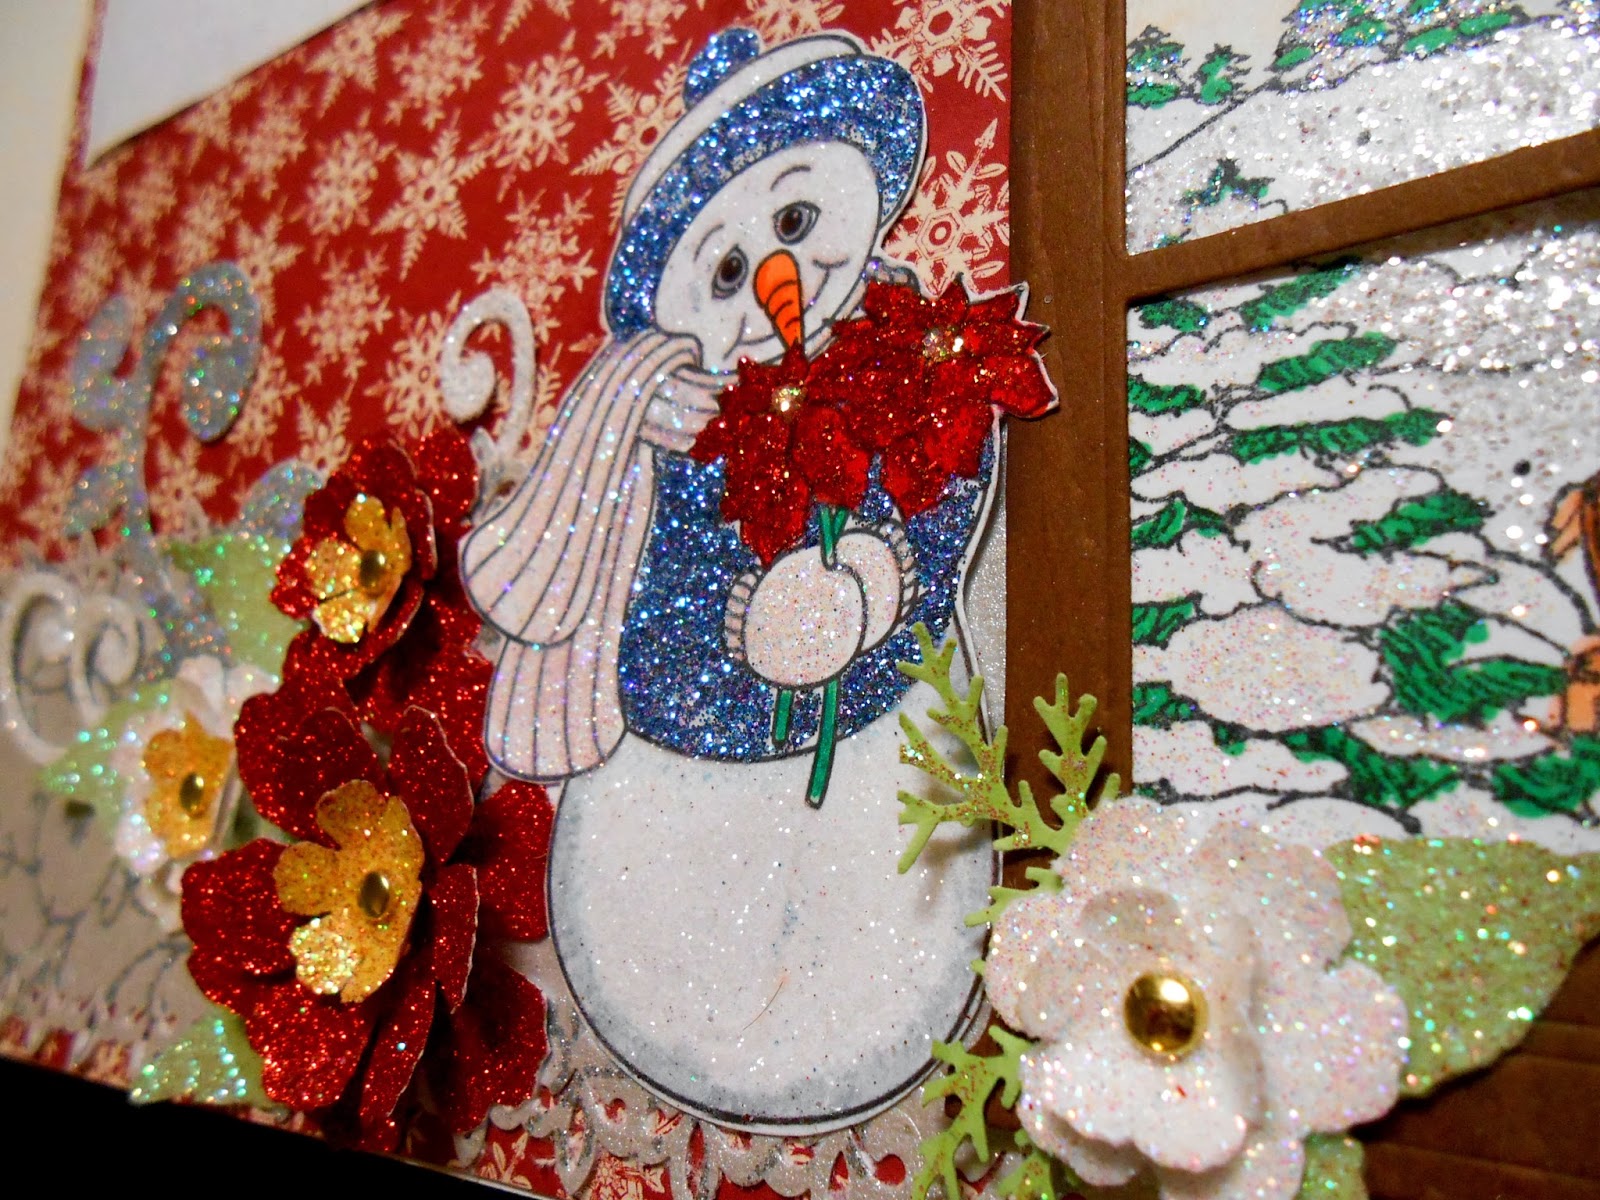
I used copic markers to color all my images.  On this page I also used the Grand Madison Window die.  I just love how it makes those lovely window scenes.  On this scene Diamond Dust glitter gave the look of glittery snow.  I could not resist using that sweet snowman for last month's release Snow One Like You.  


 The glitters used on the sweet snow maiden were, Fascination glitter on the body and hat.  For the rest of the body, scarf and mitten Sparkling Snow glitter was used. 


The sparkly flowers were all cut from Tim Holtz's Tattered Flower Die.  I used sticker paper to cut them, remove the protective backing and apply Gypsy Red Microfine glitter.  I also used Sparkling Snow and Evening Glow glitter.  I punched some pine branch from a punch and glittered with Green Iris glitter.


Using Sizzix's snowflake die cut 

and the swirls from the Love Sizzlit 

I created this pretty area for the title 

to rest.  I used Reflection Microfine 

glitter and Sparkling Snow glitter.


This really made a beautiful area to rest my title!!


Quick look at the flowers on the top of the page.  The glitter ribbon was created using 1/4" Tear-ific Tape and Gypsy Red glitter.  The border was made using a border punch.

 
Hope you all have enjoyed seeing my page as much as I enjoyed designing it!!!  If you would like to get more instructions on how to make it, you can find it HERE.

Good luck to you all, and hope to see you again next month at,SNS Creative Challenge ~ Anything Goes.

Thanks for stopping by, hope you all have a very blessed day!
Belinda

SNS Products used on this page: